
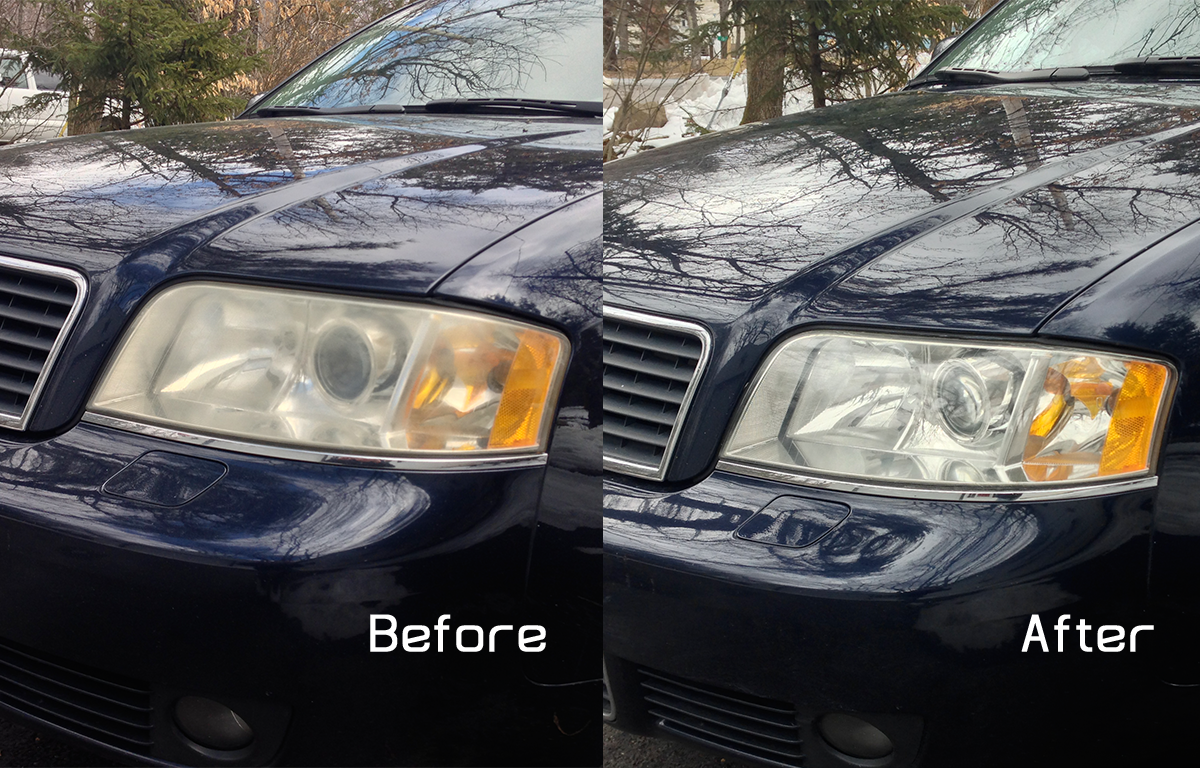
 There’s nothing worse than driving a car with hazy headlights. It makes your car look older than it already is and also reduces night time visibility. Buying new headlights can cost hundreds, if not thousands depending on the vehicle and not in most people’s budget so they settle for dull lights.
I will explain how to clean headlights at the comfort of your own home using the 3M Headlight Restoration System. This system actually works and will save you money.
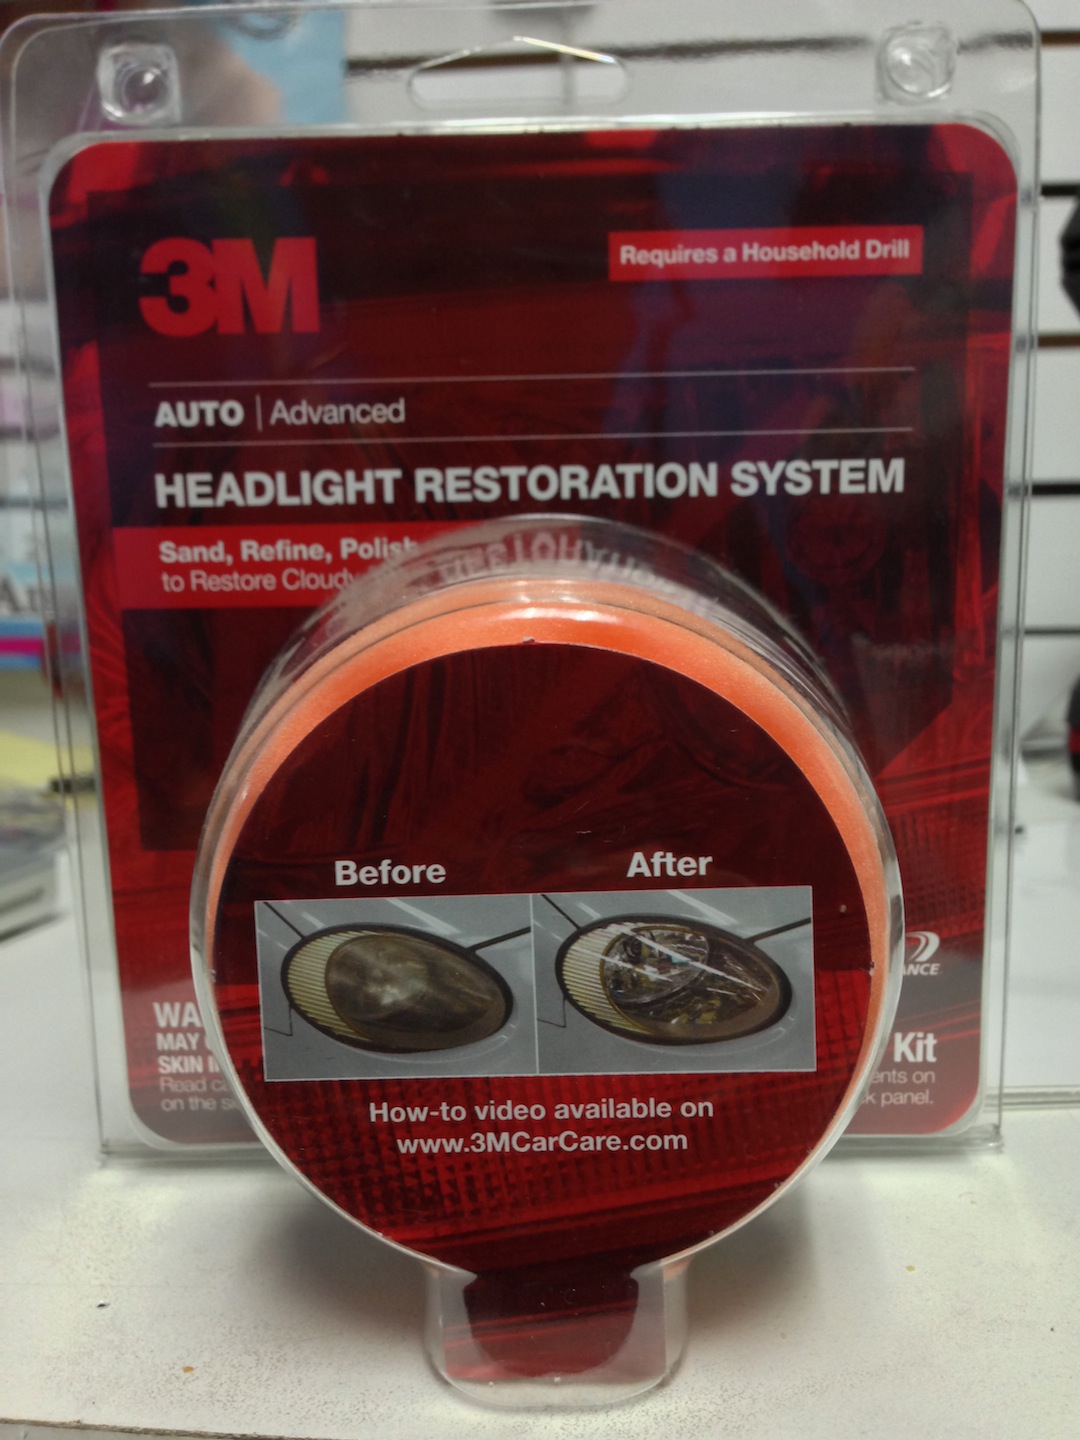
There are many different methods on how to clean headlights. For my customers, I use the 3M Professional Headlight Restoration System and I’ve had a 100% success rate so far…but for you DIY’s, there is a more cost effective version (that works!) you can purchase from your local auto parts store and Amazon.
This is all you will need…
1. 3M 39008 Headlight Lens Restoration System
2. Painter’s Tape
3. Household Drill
4. Spray Bottle
5. Microfiber Cloth
Step 1:
Clean off the headlight and surrounding area so it is free from dirt and debris.
Step 2:
Apply tape around the headlight area (fender, hood, bumper) to prevent scratches and scuffs on the car’s paint when sanding the light.
Step 3:
Attach the Disc Pad Holder to the drill and depending on how bad the lights are, start with either the P500 (gold) or P800 (white) sanding disc.
Step 4:
Start sanding the surface thoroughly with several passes making sure you have evenly sanded the surface. The entire area should look white. Make sure not to apply too much pressure and do not sand in the same position for long or else the surface gets too hot and the plastic will melt.
If that happens, spray some soap and water and lightly go over the area until the marks disappear.
Step 5:
Remove the old sanding disc and attach the P3000 (trizact gray refining disc). Proceed to do the same method as Step 4.
* Note: each time you increase the sanding disc grit (ie: P500 => P800 => P3000) make sure you are sanding until the previous sanding scratches are reduced. If not, you will have to go back and repeat the previous steps.
** Tip: Wet sanding helps achieve better results.
Step 6:
By the time you get to this step, the lens should be pretty clear. This is the time to check and see if there are any deep scratches to sand out.
If everything looks good, attach the Compound Pad. Squeeze some rubbing compound on the pad and spread it evenly on the headlight housing to prevent splatter.
Make several passes until the fine scratches are gone or reduced.
 Step 7:
Remove the tape and wipe down with a microfiber cloth.
**Tip #2: If there are still fine scratches after sanding with the gray trizact disc, try wet sanding with 1000 grit sandpaper (not included with kit) in between steps 4 and 5.
Hopefully this article was helpful. If you have any questions or would like a professional to perform this service feel free to contact me to schedule and appointment.
